Pressure Washing
Pressure Washing an Ottawa Deck Before Staining: A Practical Preparation Guide
A practical Ottawa guide to inspecting, clearing, washing and drying a wood deck before stain—without treating the surface like concrete.
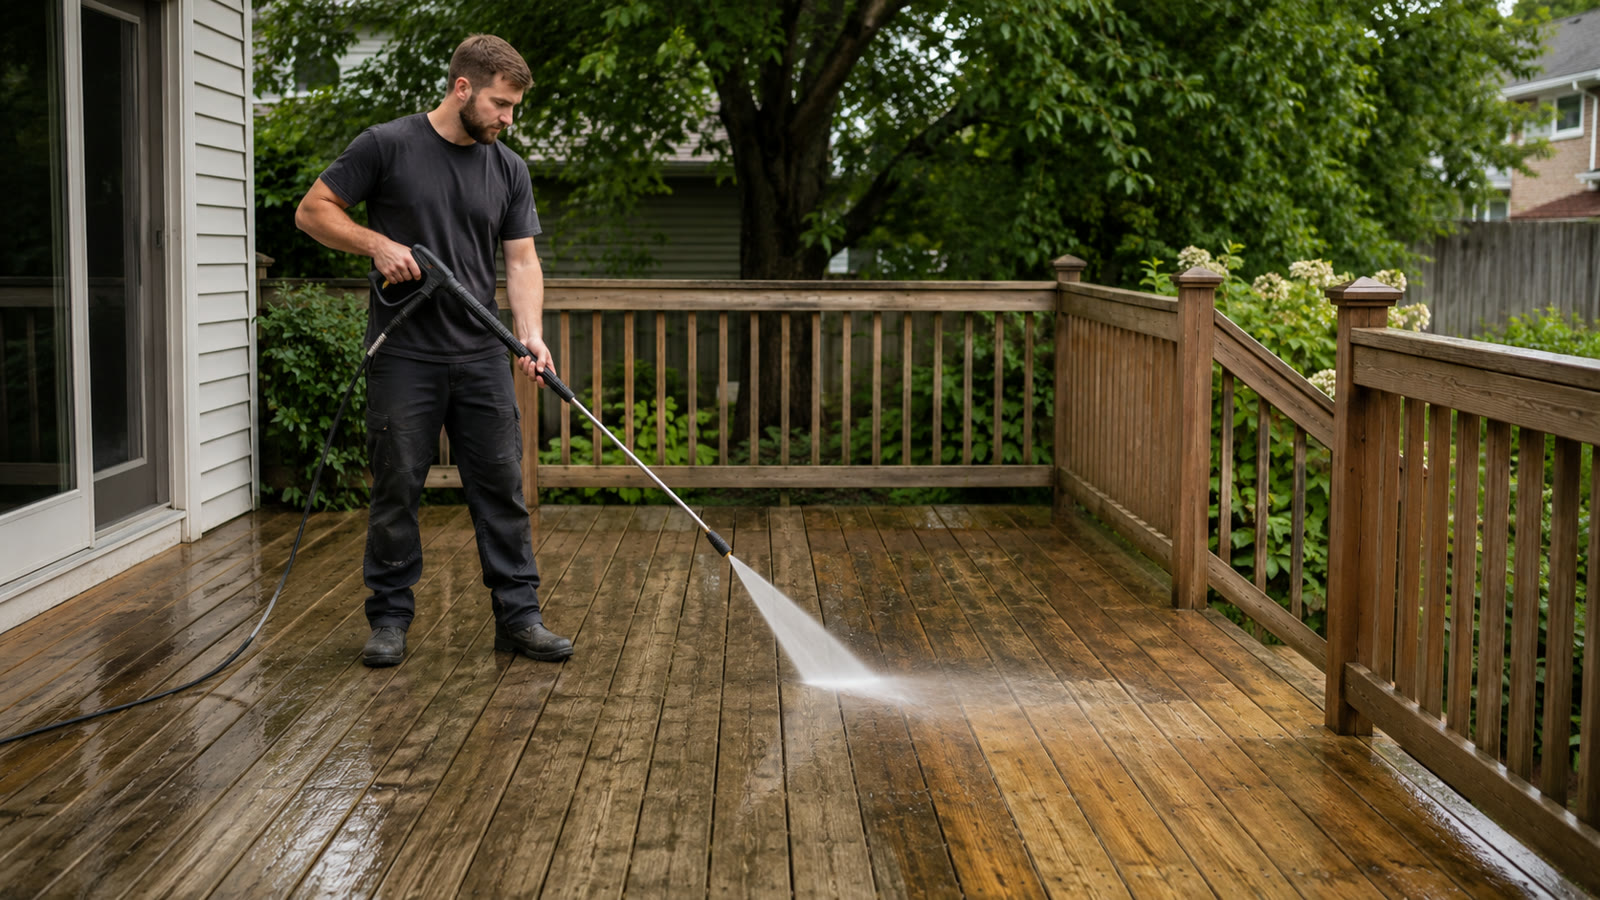
A wood deck can look dry and ready for stain while still holding dirt between boards, residue around railings and moisture in shaded sections. Washing can be an important preparation step, but it has to be planned around the wood, the existing finish and the coating that will be applied afterward. Treating every deck like a concrete driveway can raise fibres, leave visible wand marks or drive water into joints and nearby building materials.
For Ottawa homeowners, the practical goal is not to make old wood look brand new in one pass. It is to create a sound, consistently prepared surface without causing avoidable damage, then allow enough time for inspection and drying before staining begins. This guide explains what to check, what information a cleaning crew needs and how to coordinate washing with the next stage of the project.
Start with the stain or coating plan
Choose the intended coating—or at least identify the type of finish you are considering—before arranging the wash. A transparent penetrating stain, a solid-colour coating and a maintenance coat over an existing product may require different preparation. Read the coating manufacturer’s current instructions and share them with whoever is cleaning or staining the deck.
- Identify the deck material and, if known, its age.
- Determine whether the boards are bare, stained, painted or coated with an unknown product.
- Note when the surface was last cleaned or refinished.
- Confirm whether sanding, stripping or repairs will be handled separately.
- Check the coating instructions for surface preparation and acceptable moisture conditions.
Pressure washing removes surface soil and suitable residue; it does not automatically remove every previous coating or replace sanding. If the old finish is peeling, glossy, uneven or unknown, the refinishing contractor may need to specify additional preparation before the wash is booked.
Inspect the deck before water and equipment arrive
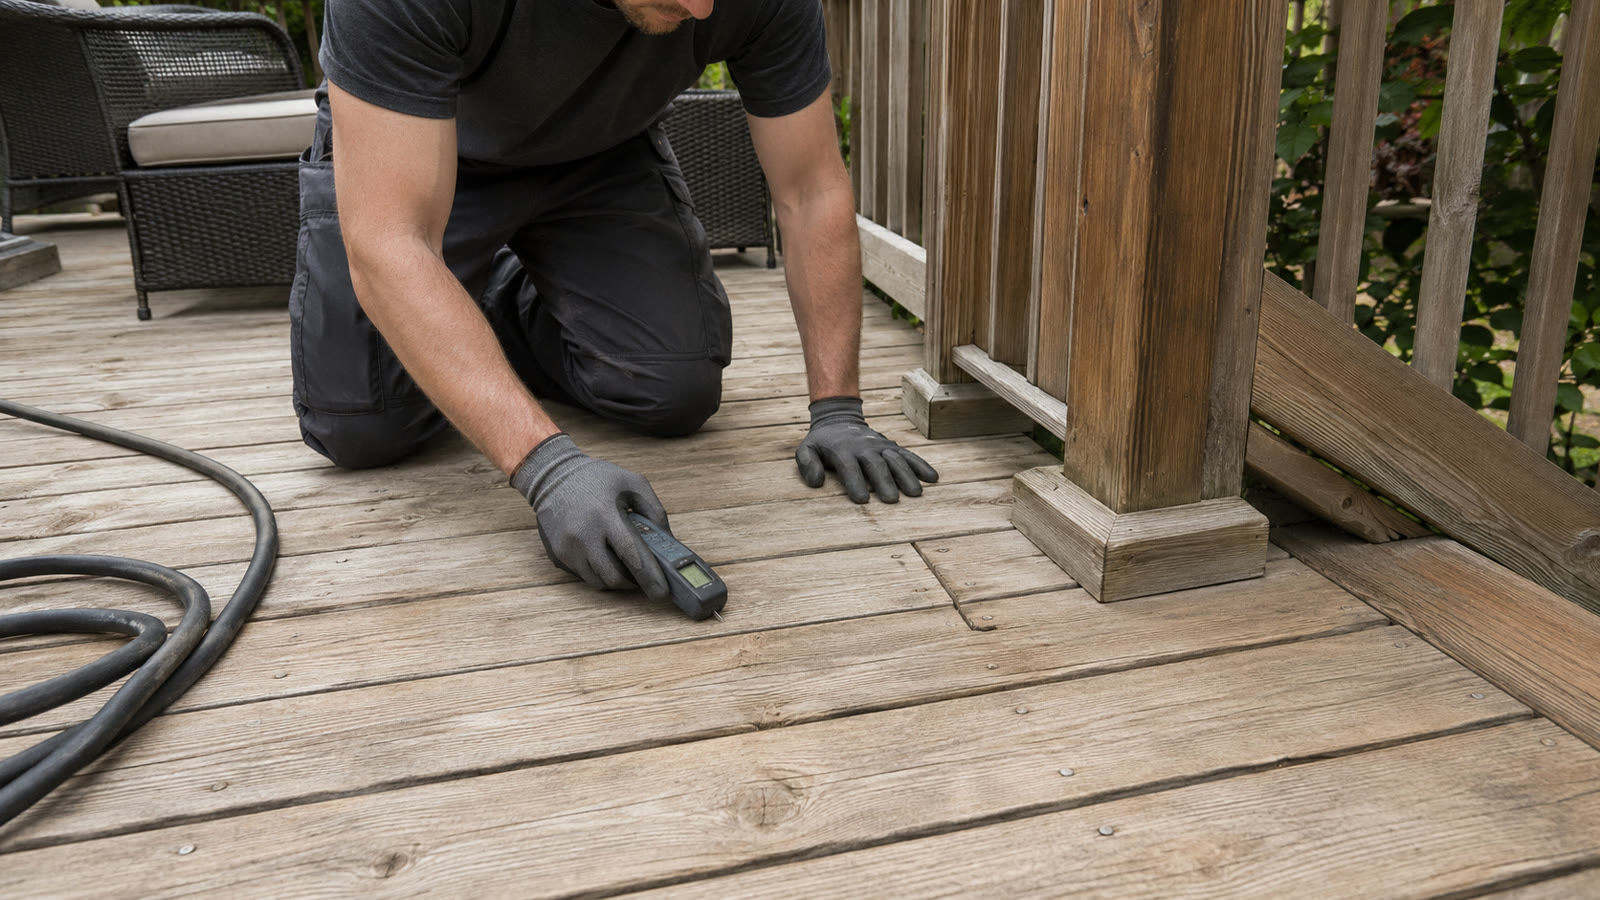
Walk the entire structure in daylight. Look closely at boards, steps, railings, post bases and the connection to the house. Loose fasteners, lifted boards, soft sections, splitting wood and unstable railings should be addressed before cleaning. Washing is not a structural repair, and water can make an already weak stair or board more hazardous.
- Mark protruding nails, screws and sharp edges.
- Photograph cracks, splintering, previous repairs and worn board ends.
- Check stair treads, handrails and guard components for movement.
- Identify low areas where water tends to collect.
- Point out electrical outlets, lighting, door thresholds and vents near the work area.
- Note garden beds, painted siding and neighbouring surfaces that need protection.
Clear the deck and protect the surroundings
Move furniture, barbecues, planters, rugs, storage boxes and loose decorations off the deck rather than shifting them repeatedly during the job. Sweep away leaves and loose debris. Keep children and pets away from the work zone, and make sure the route between the equipment and deck is clear.
Close nearby windows and doors. Identify gaps at thresholds, damaged weather stripping and openings where water could enter. Outdoor receptacles and fixtures require appropriate care, and spray should be directed away from electrical components, door seals and vents. Delicate plants may need to be moved or protected according to the cleaning method and any product instructions.
Use a method suited to wood—not maximum pressure
Wood responds differently from concrete. Effective deck cleaning depends on water flow, pressure, nozzle pattern, working distance, dwell time, cleaning product and the condition of the boards. More pressure is not automatically more effective. A narrow jet or inconsistent distance can cut into softer grain and leave stripes that become more obvious after stain is applied.
A small, inconspicuous test area helps confirm the approach. The operator should use a controlled pattern, keep the spray moving and work with the board direction where appropriate. Existing coatings, heavily weathered wood and soft or damaged sections may need a reduced method or a different preparation process.
Cleaning products should be selected for the surface and used according to their labels. Do not combine chemicals or assume a stronger mix will solve an unknown mark. Runoff, nearby landscaping and the next coating system all need to be considered.
Keep the cleaning pattern consistent
Consistency matters because stain can highlight differences in preparation. Work in manageable sections and avoid stopping in the middle of a board where possible. Overlapping passes should be controlled rather than repeatedly concentrating spray in one area. Corners, gaps and shaded sections may hold residue after the open boards appear clean, so the final inspection should cover the whole deck.
The aim is a uniformly prepared surface, not a dramatic light-and-dark stripe for a photo. Some colour variation is part of aged wood, and some marks may remain if removing them would risk damaging the surface. Agree on realistic priorities before the work begins.
Treat railings, stairs and edges as separate work areas
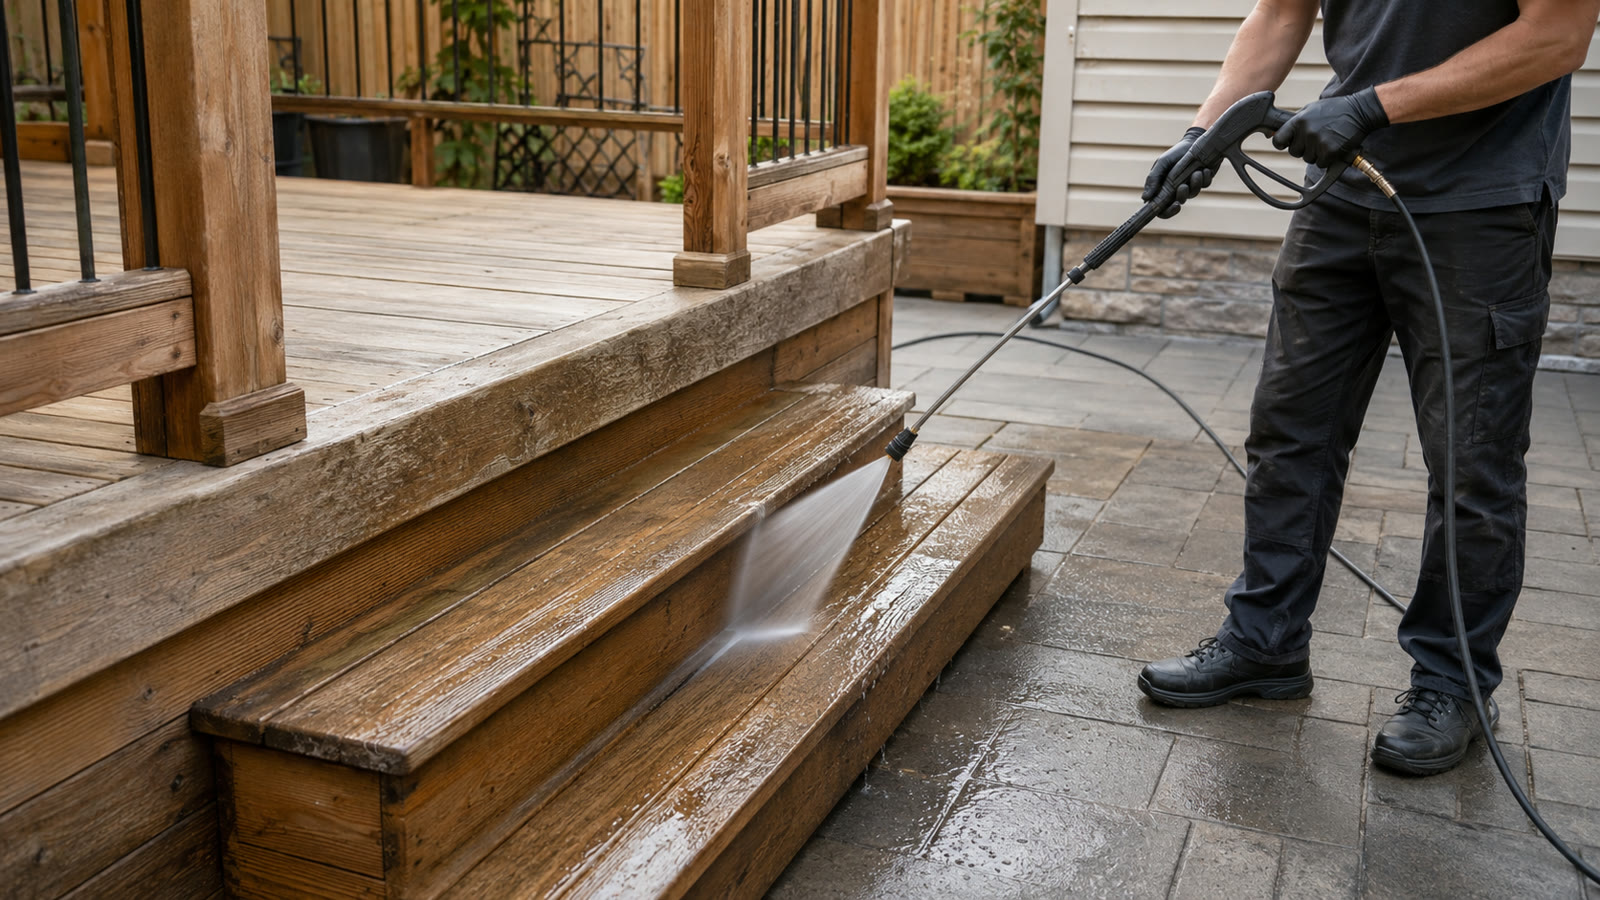
Flat deck boards are only part of the job. Rail caps, balusters, post bases, fascia, stair risers and tread edges collect residue and weather differently. They also sit closer to siding, doors, plants and metal hardware. These areas often need adjusted angles, shorter passes and careful water control rather than the same technique used on the open deck.
Plan the work so the operator is not standing on wet stairs or directing spray toward people, glass or neighbouring property. Route hoses away from stair approaches and gates. After cleaning, check the lowest step and patio transition for pooled water, loosened debris and slippery residue.
Allow the deck to dry based on actual conditions
Do not schedule staining immediately after washing simply because the surface looks dry. Moisture can remain in board joints, end grain, shaded areas and around posts after the exposed surface changes colour. Drying varies with temperature, humidity, airflow, shade, board thickness, wood condition and the amount of water used.
Follow the coating manufacturer’s requirements and let the staining contractor determine readiness. Where a moisture reading is required, take it in more than one location, including shaded and lower areas. Fixed promises such as “ready the next day” are unreliable without considering the product and conditions.
- Keep furniture and rugs off the deck while it dries.
- Prevent sprinklers or roof runoff from re-wetting the boards.
- Check shaded corners, steps and post bases separately.
- Allow time for raised fibres or missed repairs to be addressed.
- Confirm the forecast and coating window with the staining contractor.
Inspect again before any coating is applied
Once the deck is dry, inspect it under even daylight. Look for remaining residue, fuzzy or raised fibres, visible pass marks, loose fasteners and areas that dried differently. Light sanding or other preparation may still be required according to the coating plan. Resolve those issues before furniture returns or stain is opened.
What to send for a firm quote
Send wide photos of the entire deck plus close photos of the boards, railings, stairs, existing finish and any damaged or heavily marked areas. Include the Ottawa address, approximate deck dimensions, water-access details, equipment route and the date by which cleaning must be completed. Mention the planned stain or coating, if known, and identify who will handle repairs, sanding and staining.
Mattabo Property Care is fully insured for the services it provides. Same-day service is often available but is not guaranteed until Mattabo confirms the appointment.
Photos are illustrative examples of typical residential service results.