Interior Clean-Up
Post-Renovation Cleaning in Ottawa: A Room-by-Room Reset Before Move-In
A practical Ottawa guide to clearing ordinary renovation dust and residue from kitchens, bathrooms, living areas, stairs and floors before move-in.
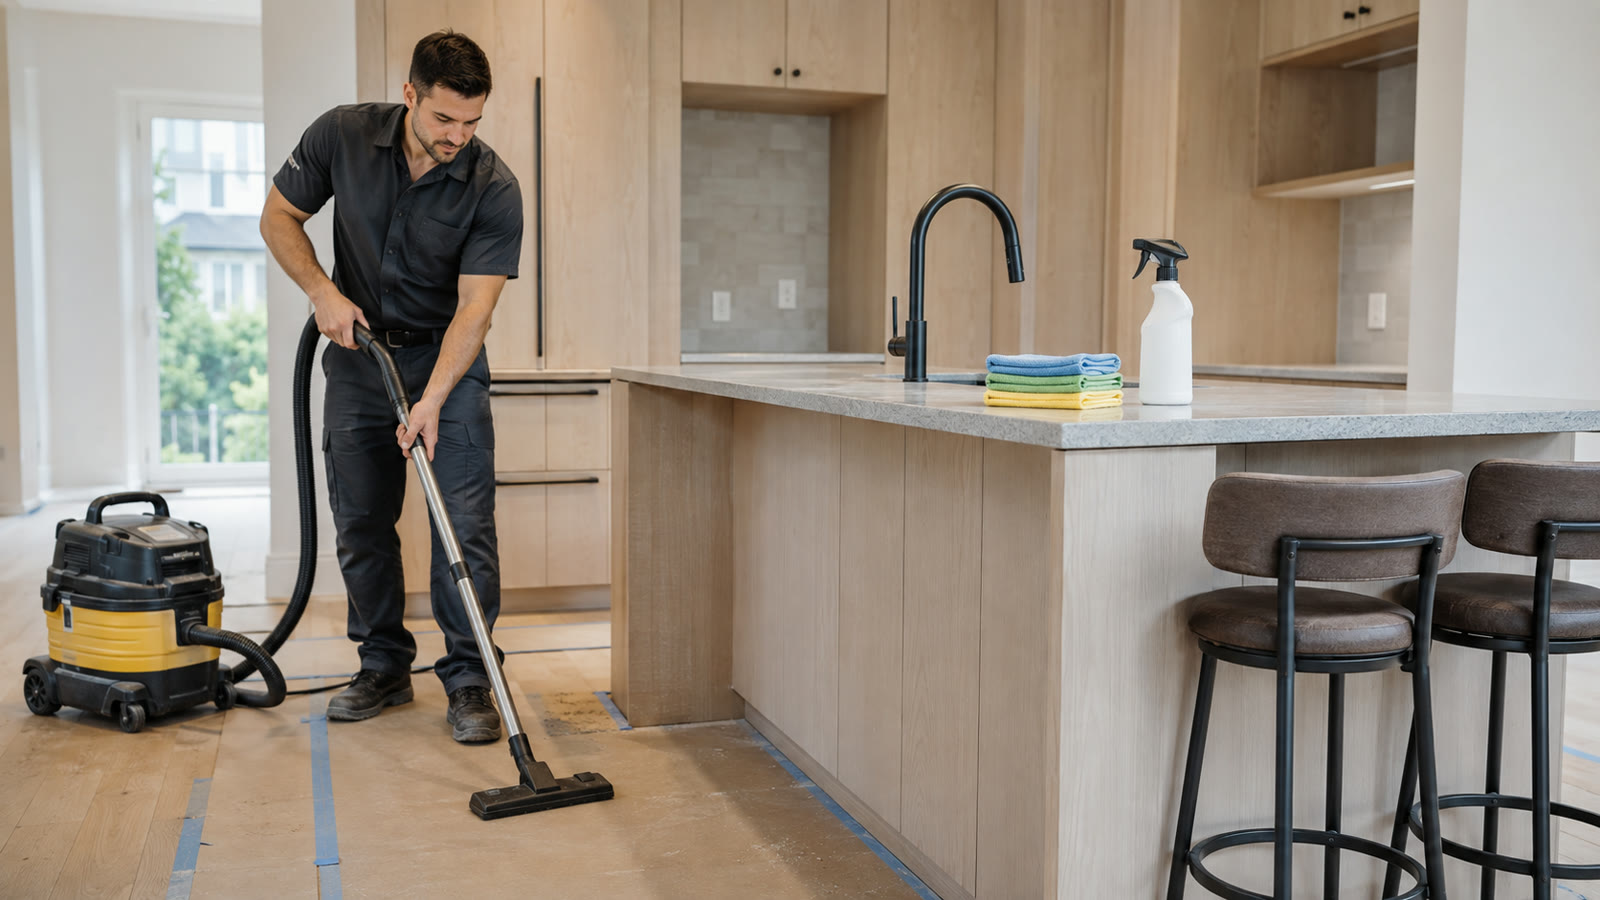
A renovation may be finished from the contractor’s point of view while the home is still not ready for furniture, listing photos or everyday use. Fine dust settles on cabinet ledges, trim, floors, window tracks and fixtures. Packaging, protective coverings and ordinary off-cuts can also remain after the last trade leaves.
Post-renovation cleaning is most effective when it is treated as a separate project with a clear starting point, room list and completion standard. The goal is not to erase construction history or polish every surface aggressively. It is to remove ordinary non-hazardous dust and debris carefully, protect the new finishes and make the space practical to occupy.
Wait until the renovation is genuinely ready for cleaning
Starting too early usually creates repeat work. Sanding, drilling, touch-up painting and trim installation can redistribute dust through rooms that were already cleaned. Confirm that the active trades are finished, tools have been removed and the contractor has completed the main debris removal before scheduling the final interior clean-up.
- Confirm that sanding, cutting, drilling and demolition are complete.
- Allow paint, caulking, grout, adhesives and finishes to cure according to the installer’s directions.
- Ask the contractor to remove trade waste, sharp off-cuts and unused building materials.
- Confirm which floor coverings, tapes and temporary barriers should remain in place.
- Make sure water, electricity, lighting and safe access are available where required.
If one trade still needs to return, identify the exact room and protect the cleaned areas from that route. A staged approach can work, but only when the boundaries are clear.
Separate ordinary clean-up from hazardous material
Ordinary renovation dust, cardboard, clean packaging and non-hazardous debris belong in a standard clean-up plan. Suspected asbestos, mould, lead contamination, chemical residue, sewage, animal waste, sharps or unknown powders do not. Those conditions require appropriate assessment and specialist handling before routine cleaning continues.
Do not sweep or disturb a questionable material to see what it is. Photograph the area from a safe distance, stop work in that section and ask the contractor or an appropriate specialist to identify the next step. A clear exclusion protects the people working in the home and prevents an ordinary cleaning appointment from drifting into remediation work.
Build the scope room by room
A useful scope names surfaces, not just rooms. “Clean the kitchen” could mean exposed counters and floors, or it could include every empty cabinet, drawer, appliance opening, backsplash edge, light fixture and window track. Decide what will be empty and accessible before the crew arrives.
Kitchen and bathrooms
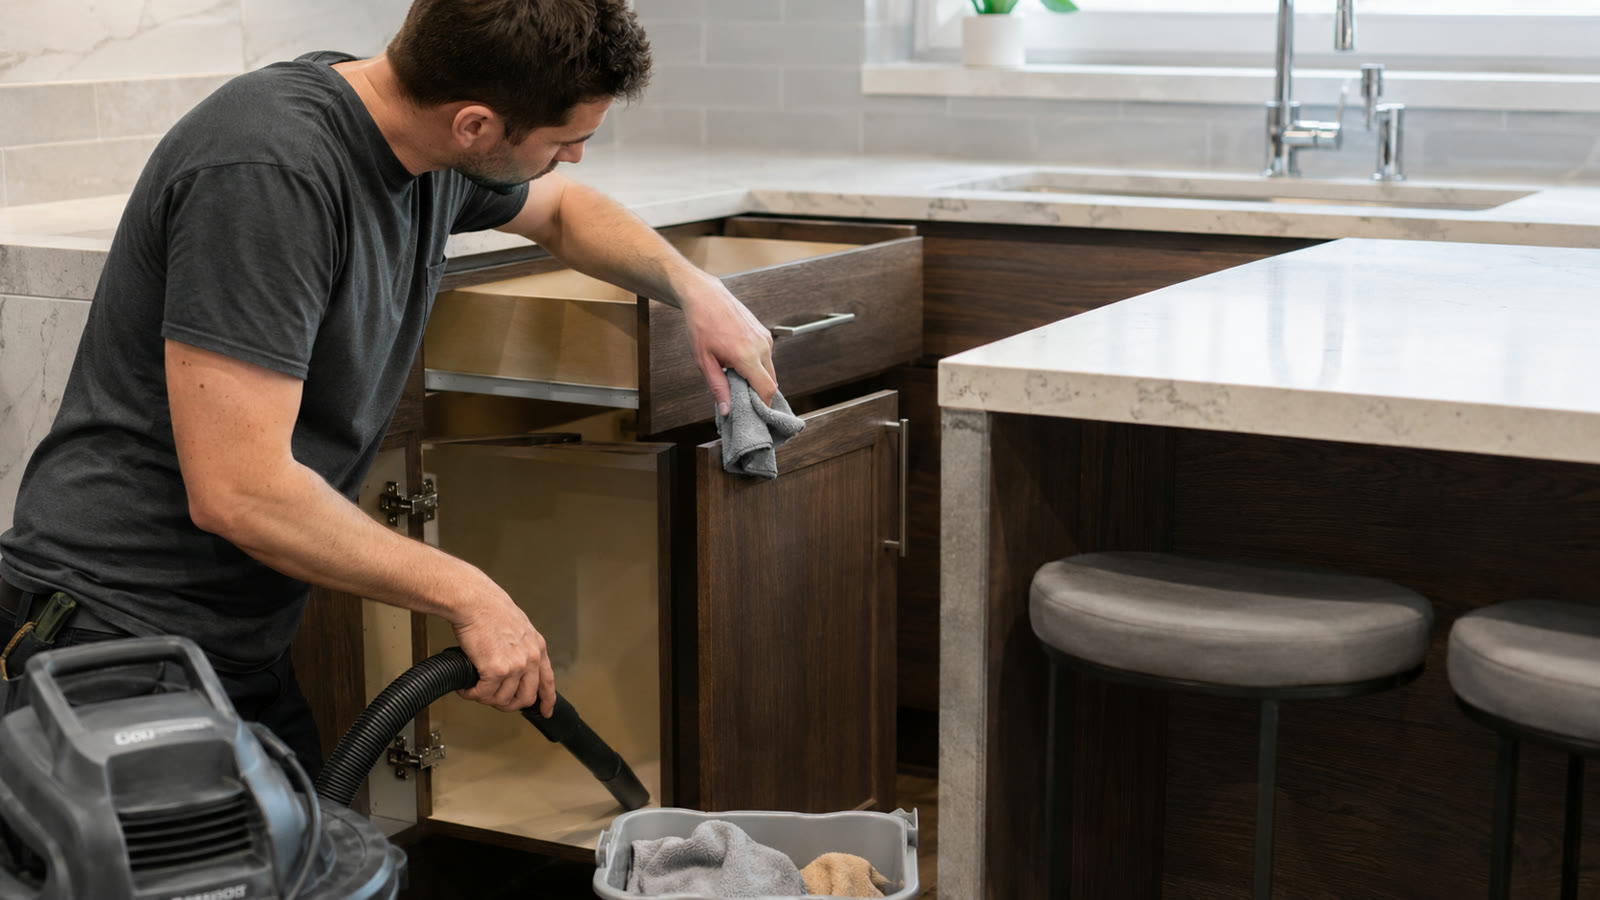
These rooms contain the greatest concentration of new finishes and small edges. Check cabinet interiors, drawer runners, toe kicks, counter seams, backsplash ledges, sink surrounds and the exterior of installed fixtures. In bathrooms, include vanity interiors, tub or shower ledges, tile transitions and the floor around the toilet base. Products and tools should match the installed material; stone, wood, metal, glass and painted surfaces do not all tolerate the same treatment.
Living areas and bedrooms
Focus on window sills and tracks, closet shelves, baseboards, door frames, switch plates, floor edges and any built-ins. Dust can remain on the tops of doors and trim even when the centre of the floor looks clean. If vents or grilles were removed during construction, confirm that they have been reinstalled securely before the final pass.
Entry, stairs and basement
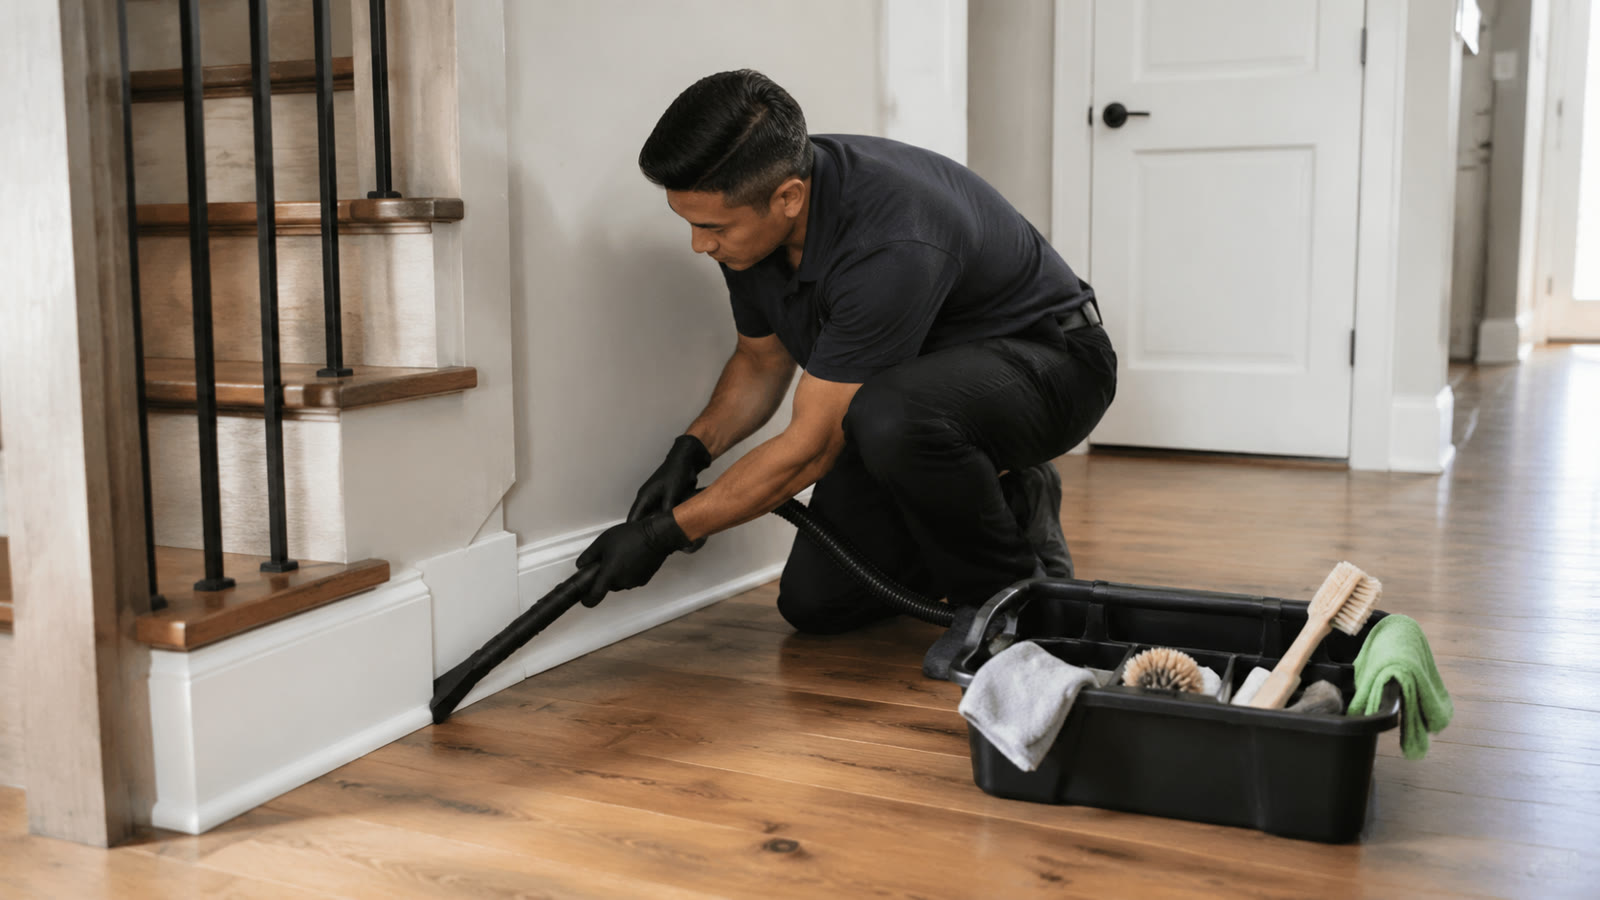
The route used by trades often needs extra attention. Include stair nosings, railing bases, corners beside landings, entry flooring and the path between the work area and exterior door. In basements, define whether the scope covers only renovated rooms or also the utility and storage routes used during the project.
Clean in controlled passes from high to low
A single quick wipe tends to move fine dust rather than remove it. Work from higher ledges and vertical surfaces toward the floor, using controlled vacuuming and damp wiping appropriate to each finish. Change or clean cloths as they load up so residue is not spread from one cabinet or room to the next.
- Remove loose packaging and agreed non-hazardous debris.
- Vacuum higher ledges, cabinet interiors, tracks and trim using suitable attachments.
- Wipe compatible surfaces with the least aggressive method that does the job.
- Detail handles, corners, baseboards, thresholds and other transition points.
- Vacuum the floor carefully, then complete any finish-appropriate final floor cleaning.
- Inspect in natural light and correct visible residue without overworking new materials.
Dry sweeping can send fine dust back into the air and onto freshly cleaned surfaces. The exact equipment and method should reflect the material, the amount of residue and the manufacturer’s care instructions.
Protect the renovation while cleaning it
New does not mean indestructible. Fresh paint can mark, uncured caulking can pull, cabinet faces can scratch and floor finishes can react poorly to excess water or unsuitable products. Keep vacuum wheels and hoses away from vulnerable corners, remove grit before wiping, and avoid setting caddies directly on unprotected counters or floors.
Document chips, scratches, paint splatter, cracked tile or incomplete installation before cleaning begins. Cleaning should not conceal deficiencies that belong on the contractor’s deficiency list. It also should not be assumed that every adhesive mark, grout haze or paint spot can be removed safely during ordinary interior clean-up.
Include the details that become inconvenient after move-in
Empty rooms provide access that disappears once boxes and furniture arrive. Cabinet interiors, closet shelving, window tracks and floor edges are easier to address now. Confirm whether protective film on appliances or fixtures should be removed; some installers prefer to leave it until their own final inspection.
- Inside empty cupboards, drawers and closets.
- Window sills, accessible tracks and interior frames.
- Baseboards, door frames, handles and switch plates.
- Floor edges beneath future furniture and appliances.
- Stair edges, railing bases and entry transitions.
- Exposed shelves, built-ins and accessible fixture exteriors.
Plan the clean around move-in or listing deadlines
Leave enough time between the final clean and furniture delivery for inspection and any contractor touch-ups. For a sale or rental listing, complete dusty repairs before photography and avoid scheduling movers, stagers and cleaners in the same rooms at the same time. For an occupied renovation, identify a clean route for residents and keep personal belongings away from the work zone.
A realistic schedule depends on the number of rooms, cabinet and closet interiors, floor types, remaining debris, parking, elevator access and whether the home is empty. Same-day availability can help with a tight handoff, but it should not replace a properly defined scope.
What to send for a firm quote
Send wide photos of each renovated room plus close photos of cabinetry, floors, stairs, tracks and any areas with heavier ordinary dust or residue. Include your Ottawa address, deadline, approximate number of rooms, whether the home is occupied, elevator or parking details, and which cabinets, closets or appliances will be empty and accessible.
Mattabo Property Care is fully insured for the services it provides. Same-day service is often available but is not guaranteed until Mattabo confirms the appointment.
Photos are illustrative examples of typical residential service results.